
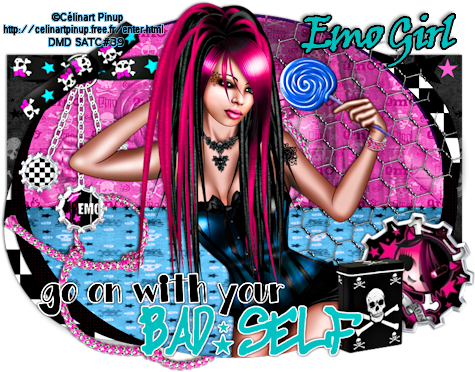
Emo Girl
This tutorial is my own creation and based on my own ideas. Any and all similarities with any other tutorial is purely coincidental.
Please do not upload to or offer this tutorial on any other site without asking me first. Thank you.
Material you will need:
PaintShopPro – I’m using PSP X2, but you should be able to follow the tutorial in any version.
A font of your choice.
A tube of your choice.
1 tag template – I used template Bad Self, created by Crazy Cakes Scraps. You can find it here on her blog.
Plugins – Penta.com (Color Dot) & Krusty’s FX Vol III (Grid Mover).
Now, let’s get started. It might be helpful if you choose the elements you wish to use beforehand, and open them up in PSP prior to starting the tutorial. That way, you have them handy when following each step.
Also, you don’t have to slavishly follow each positioning nor setting – play and experiment a bit, especially if you use different elements.
If you are unsure how to position an element, refer back to my sample tag.
I do assume you have at least some to moderate experience and understanding of PSP.
The DropShadow throughout the tutorial remains the same: V/H -1/-2 O/B 44/3.99.
Resizing throughout the tutorial is done with “Resize all Layers” NOT checked.
Choose a color (or paper) for layer 7, flood fill layer.
Repeat for layers 6 and 5.
Choose the same color for layers 4 and 3, flood fill, merge layers 4 and 3.
Write down the RGB value of a color from your tube.
Plugins – penta.com – color dot:
Value: 72
Distance: 5
For the next 3 fields, enter the RGB value you wrote down, click “Ok”.
Choose colors (or paper) for layers 2. 1 and starline.
C/p your tube, resize and position to liking on the layer 2 you just filled.
Selections – Float/Defloat, Invert, on tube layer hit “delete”, Deselect.
Still on tube layer, layer mode – Luminance.
Close all other layers but tube and layer 2, merge visible.
Plugins – Krusty’s FX Vol III – Grid Mover, standard settings (or adjust to liking).
Add your tube and any additional elements as desired.
Apply Dropshadow as desired.
Then, it is time to add any further text, copyright information and watermark to the graphic.
Feel free to merge all layers visible and then resize to your liking or crop the image.
If you prefer a transparent background, save your tag in PNG format.
Otherwise, if you select the JPG, it will automatically add a white background.
Should you care for a different colored background:
New layer, arrange, send to bottom, and floodfill with your color of choice.
I hope you enjoyed this tutorial!
XOXOXO,
Dani


No comments:
Post a Comment